
Water can move quickly through flooring, drywall, insulation, and stored belongings. Knowing how to document water damage in the first hours can give your insurance claim a clearer record while helping a restoration team identify what needs attention. Your first priority is always safety and stopping the source when possible. Documentation should support the recovery process, not delay it.
If water is near electrical panels, outlets, appliances, or structural materials that appear unstable, stay out of the affected area and call for qualified help. For a burst pipe, shut off the water supply if you can do so safely. For flooding, sewage, or stormwater, avoid contact with the water, which may contain contaminants.
Document Water Damage Before Cleanup Begins
The best evidence is usually captured before damaged materials are removed, dried, or discarded. Use your phone to take wide, medium, and close-up photos of every affected room. Start at the doorway and photograph the full space so the location is clear. Then capture details such as wet carpet, warped flooring, damaged drywall, standing water, ceiling stains, wet insulation, furniture, electronics, and personal property.
Video is especially useful when water has traveled across several rooms or levels of a building. Walk slowly through the space and narrate what you see: where the water appears to have started, which rooms are affected, and any visible damage. A simple video can show the relationship between a leaking ceiling, a wet wall, and damaged contents more clearly than separate photographs alone.
Do not edit photos or apply filters. Keep the original files, including their date and time information. If your phone does not automatically store location data, that is not a problem, but label and organize the files as soon as you have time.
Capture the source and the path of water
When it is safe to do so, photograph the suspected source of the loss. That could be a broken supply line, overflowing appliance, failed water heater, roof opening, backed-up drain, or storm-related intrusion. Take pictures of the surrounding area as well. A close-up of a cracked hose is useful, but a wider photo showing the hose connected to a washing machine helps explain the event.
Water often travels farther than it first appears. Check adjacent rooms, closets, lower levels, and the ceilings below the affected area. In commercial buildings, document nearby offices, inventory areas, common spaces, equipment rooms, and tenant spaces. Marking the spread early helps establish the scope of the loss and can prevent missed moisture from becoming a larger problem later.
Create a Written Water Damage Record
Photos show conditions. Written notes provide the timeline. As soon as practical, make a simple record of what happened and when. You do not need technical restoration language. Clear, factual notes are more valuable than guesses about the cause or the final cost.
Include the date and time you discovered the water, the weather conditions if a storm was involved, the source you observed, and the actions you took. For example, note when you shut off the main water valve, called a plumber, contacted your insurer, or arranged emergency mitigation. If you are a facility manager, include when building staff were notified, what areas were secured, and whether operations were interrupted.
Keep a log of every conversation related to the loss. Record the name of the insurance representative, plumber, restoration provider, property manager, or contractor; the date and time of the conversation; and any claim number or instructions you received. Save emails, text messages, estimates, invoices, and work authorizations in one folder. For a commercial property, assign one person to maintain this file so communication stays consistent.
Make an inventory of damaged contents
List damaged belongings room by room. Include the item, brand or description, approximate age, purchase price if known, and the damage you can see. For higher-value items, add serial numbers, model numbers, receipts, appraisals, or previous photos if available.
Do not spend hours searching for every receipt while water is still present. Start with the items that are most valuable, business-critical, or difficult to replace. This may include electronics, tools, equipment, furniture, inventory, documents, artwork, or specialized materials. You can build out the inventory after mitigation is underway.
For business owners, document damaged stock and equipment before moving it. Note quantities, SKU numbers, and any impact on production or service. Photograph labels, shelves, and storage areas. If equipment needs to be removed for safety, record its condition and location before transport.
Protect Property Without Destroying Evidence
Most insurance policies require property owners to take reasonable steps to prevent additional damage. That means you should not wait for an adjuster to begin emergency drying, water extraction, or temporary protection. Standing water and elevated moisture can lead to further material damage and mold growth, particularly in humid conditions or enclosed spaces.
At the same time, avoid throwing away damaged materials until you have photographed them and received direction from your insurer or restoration professional. If wet drywall, carpet, padding, or other materials must be removed to protect the property, take clear photos first. Keep small samples only when requested or when doing so is practical and safe. Your restoration team can document affected materials, moisture conditions, and the work required to stabilize the structure.
Save receipts for reasonable emergency expenses. This can include plumbing repairs to stop an active leak, temporary board-up or tarping, water removal, fans, dehumidification, cleaning supplies, or temporary relocation when covered by your policy. Separate emergency mitigation costs from permanent repairs or upgrades whenever possible.
Report the Loss Promptly and Accurately
Contact your insurance company or agent as soon as you can. Provide the basic facts: when you discovered the damage, what you believe caused it, what areas are affected, and what steps you have taken to prevent further loss. Ask for your claim number and write it down.
Be accurate, but do not speculate. If you do not know whether a slow leak began days or weeks earlier, say that you do not know. If the source is still being investigated, document what you observed rather than assigning blame. Coverage decisions depend on policy language and the circumstances of the loss, so it is better to provide a complete record than to make assumptions.
Insurance adjusters may request photos, inventories, estimates, and records of mitigation work. Send copies, but retain the originals. Keep a dated list of everything you submit. If an adjuster visits the property, walk through the affected areas with your documentation available and point out damage that may be easy to overlook, such as wet baseboards, contents in closets, or staining beneath a ceiling.
What Professional Documentation Adds
A professional water damage assessment goes beyond visible wet surfaces. Restoration technicians use moisture detection tools to identify water inside walls, under flooring, behind cabinetry, and in structural materials. They can document moisture readings, affected materials, containment needs, drying equipment, and the steps taken to return the property to a dry, stable condition.
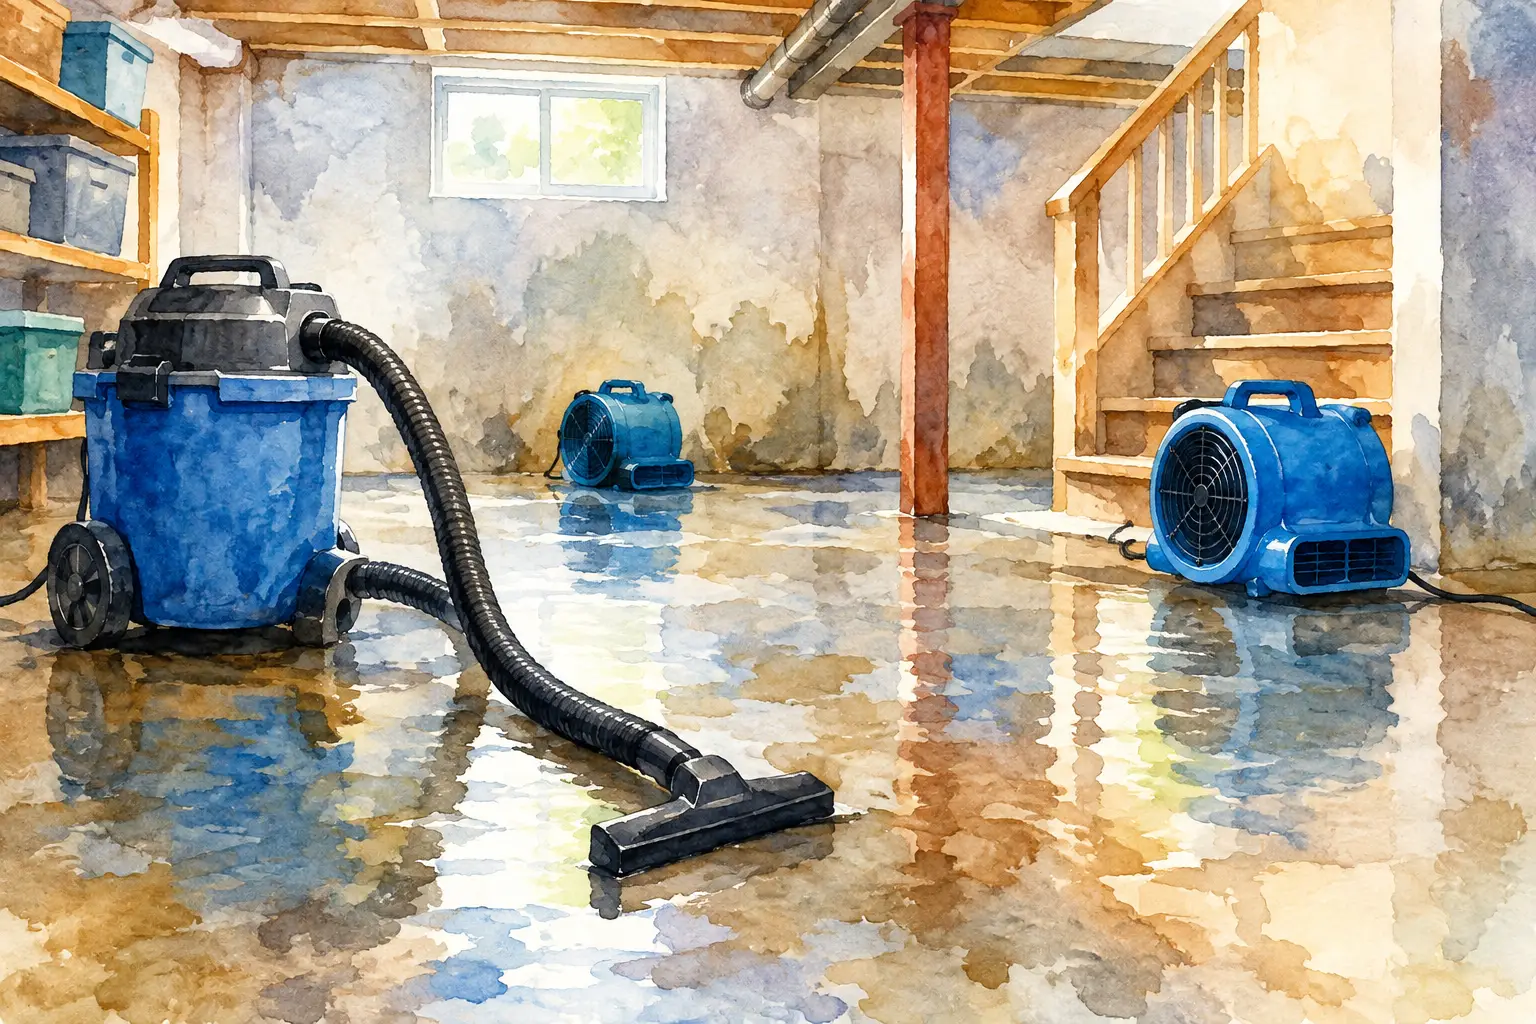
This documentation matters because the right response depends on the type of water, how long it was present, and the materials involved. A clean-water supply line leak may call for a different process than a sewage backup or floodwater intrusion. A small leak in a finished basement can still affect insulation, flooring, and framing that are not visible from the room.
For commercial properties, professional records also support operational decisions. They help property managers communicate with tenants, document business interruption, prioritize critical areas, and track recovery work from emergency response through reconstruction. ServiceMaster Restore by DCS can coordinate this process from initial assessment and mitigation through restoration, helping reduce the burden of managing multiple providers during an already disruptive event.
A Simple Documentation Checklist
Before cleanup progresses too far, make sure you have captured the following:
- Wide and close-up photos of all affected rooms, surfaces, and contents
- Video showing the source, water path, and overall extent of the damage
- A written timeline of discovery, calls made, and emergency actions taken
- An itemized inventory of damaged belongings, equipment, or inventory
- Receipts, estimates, invoices, claim information, and communication records
A water loss can make a home feel unsettled and bring business operations to a stop. Start with safe, clear documentation, then move quickly to stop moisture from causing more damage. A well-organized record gives you a stronger foundation for the decisions that follow and helps keep the focus where it belongs: restoring the property and the routines that matter most.